
Disclosure: This page may contain affiliate or commercial relationships. | Last Updated: May 2026
| MEDICAL DISCLAIMER This content is for informational purposes only and does not constitute medical advice. Consult a licensed physician before starting any hormone therapy or treatment. |
|---|
For most men starting testosterone replacement therapy, the moment of the first self-administered injection is the steepest part of the learning curve. Knowing how to inject testosterone correctly is what turns a clinical prescription into a routine you can manage with confidence, week after week.
This testosterone injection guide walks through both common methods used in modern TRT care: intramuscular (IM) and subcutaneous (SubQ) injections. You will learn what each method involves, the most common injection sites, the supplies you will need, and the technique steps your provider will likely have already reviewed with you.
Nothing here replaces the personalized instructions from your prescribing provider, but it can serve as a practical refresher between appointments.
- Why Proper Injection Technique Matters
- Intramuscular vs Subcutaneous: What is the Difference?
- Supplies You Will Need
- How to Inject Testosterone: Step-by-Step for IM and SubQ
- Where to Inject: Best Place to Inject TRT
- Common Mistakes and How to Avoid Them
- What to Watch For After Each Injection
- Questions to Ask Your TRT Provider
- Practical Next Steps
- Taking the Next Step with Confidence
Why Proper Injection Technique Matters
Testosterone replacement therapy is most effective when it is consistent. Skipped doses, inconsistent timing, and inconsistent technique can all introduce unnecessary variability into your hormone levels. Good technique is also a safety issue. Clean preparation, correct site selection, and proper sharps handling all reduce the risk of infection, bruising, and tissue irritation.
For men new to self-injection, the early weeks can feel intimidating. That is normal. Research suggests most patients become comfortable with the routine within a few injections, especially once they have a reliable process they trust. The goal of learning how to inject testosterone the right way is not perfection on day one. It is building a calm, repeatable workflow that fits into your week.
Two important reminders before going further. First, your provider determines your method, dose, and schedule based on your labs and medical history. This guide does not address dosage or frequency, since those decisions belong with your prescribing clinician. Second, every state and every clinic may have slightly different protocols and recommended supplies. Defer to your provider’s specific instructions whenever they differ from general information.
Considering TRT? Get a plan built around your labs.
Take the 2-minute assessment with a licensed PrescribedRX provider. No pressure, no obligation.
Start Your TRT AssessmentExplore plans: Injectable Testosterone · Testosterone Cream · Enclomiphene
Intramuscular vs Subcutaneous: What is the Difference?
Both methods deliver testosterone into the body, but they place it in different tissues, and that affects how it absorbs and how the injection feels.
Intramuscular (IM) injections place testosterone deep into a muscle, where it absorbs into the bloodstream over several days. According to clinical sources, this has been the traditional method for decades and typically uses a 1 to 1.5 inch needle in a 22 to 23 gauge. Common sites include the gluteal muscle (upper outer quadrant), the vastus lateralis on the outer thigh, and sometimes the deltoid for smaller volumes.
Subcutaneous (SubQ) injections place testosterone into the fat layer just beneath the skin, most often in the abdomen or the upper outer thigh. SubQ has become increasingly common in TRT care over the past several years. It uses a shorter, thinner needle, typically 25 to 27 gauge at 5/8 inch or shorter, which many patients find easier to tolerate. Research published in journals such as The Journal of Clinical Endocrinology and Metabolism has described subcutaneous testosterone as a safe and reasonable option that produces serum levels comparable to intramuscular dosing when prescribed appropriately.
Neither method is universally superior. The right approach for you depends on your prescribed product, your provider’s recommendation, your comfort level, and sometimes practical factors like body composition and lifestyle. Some men also find their preference shifts over time.
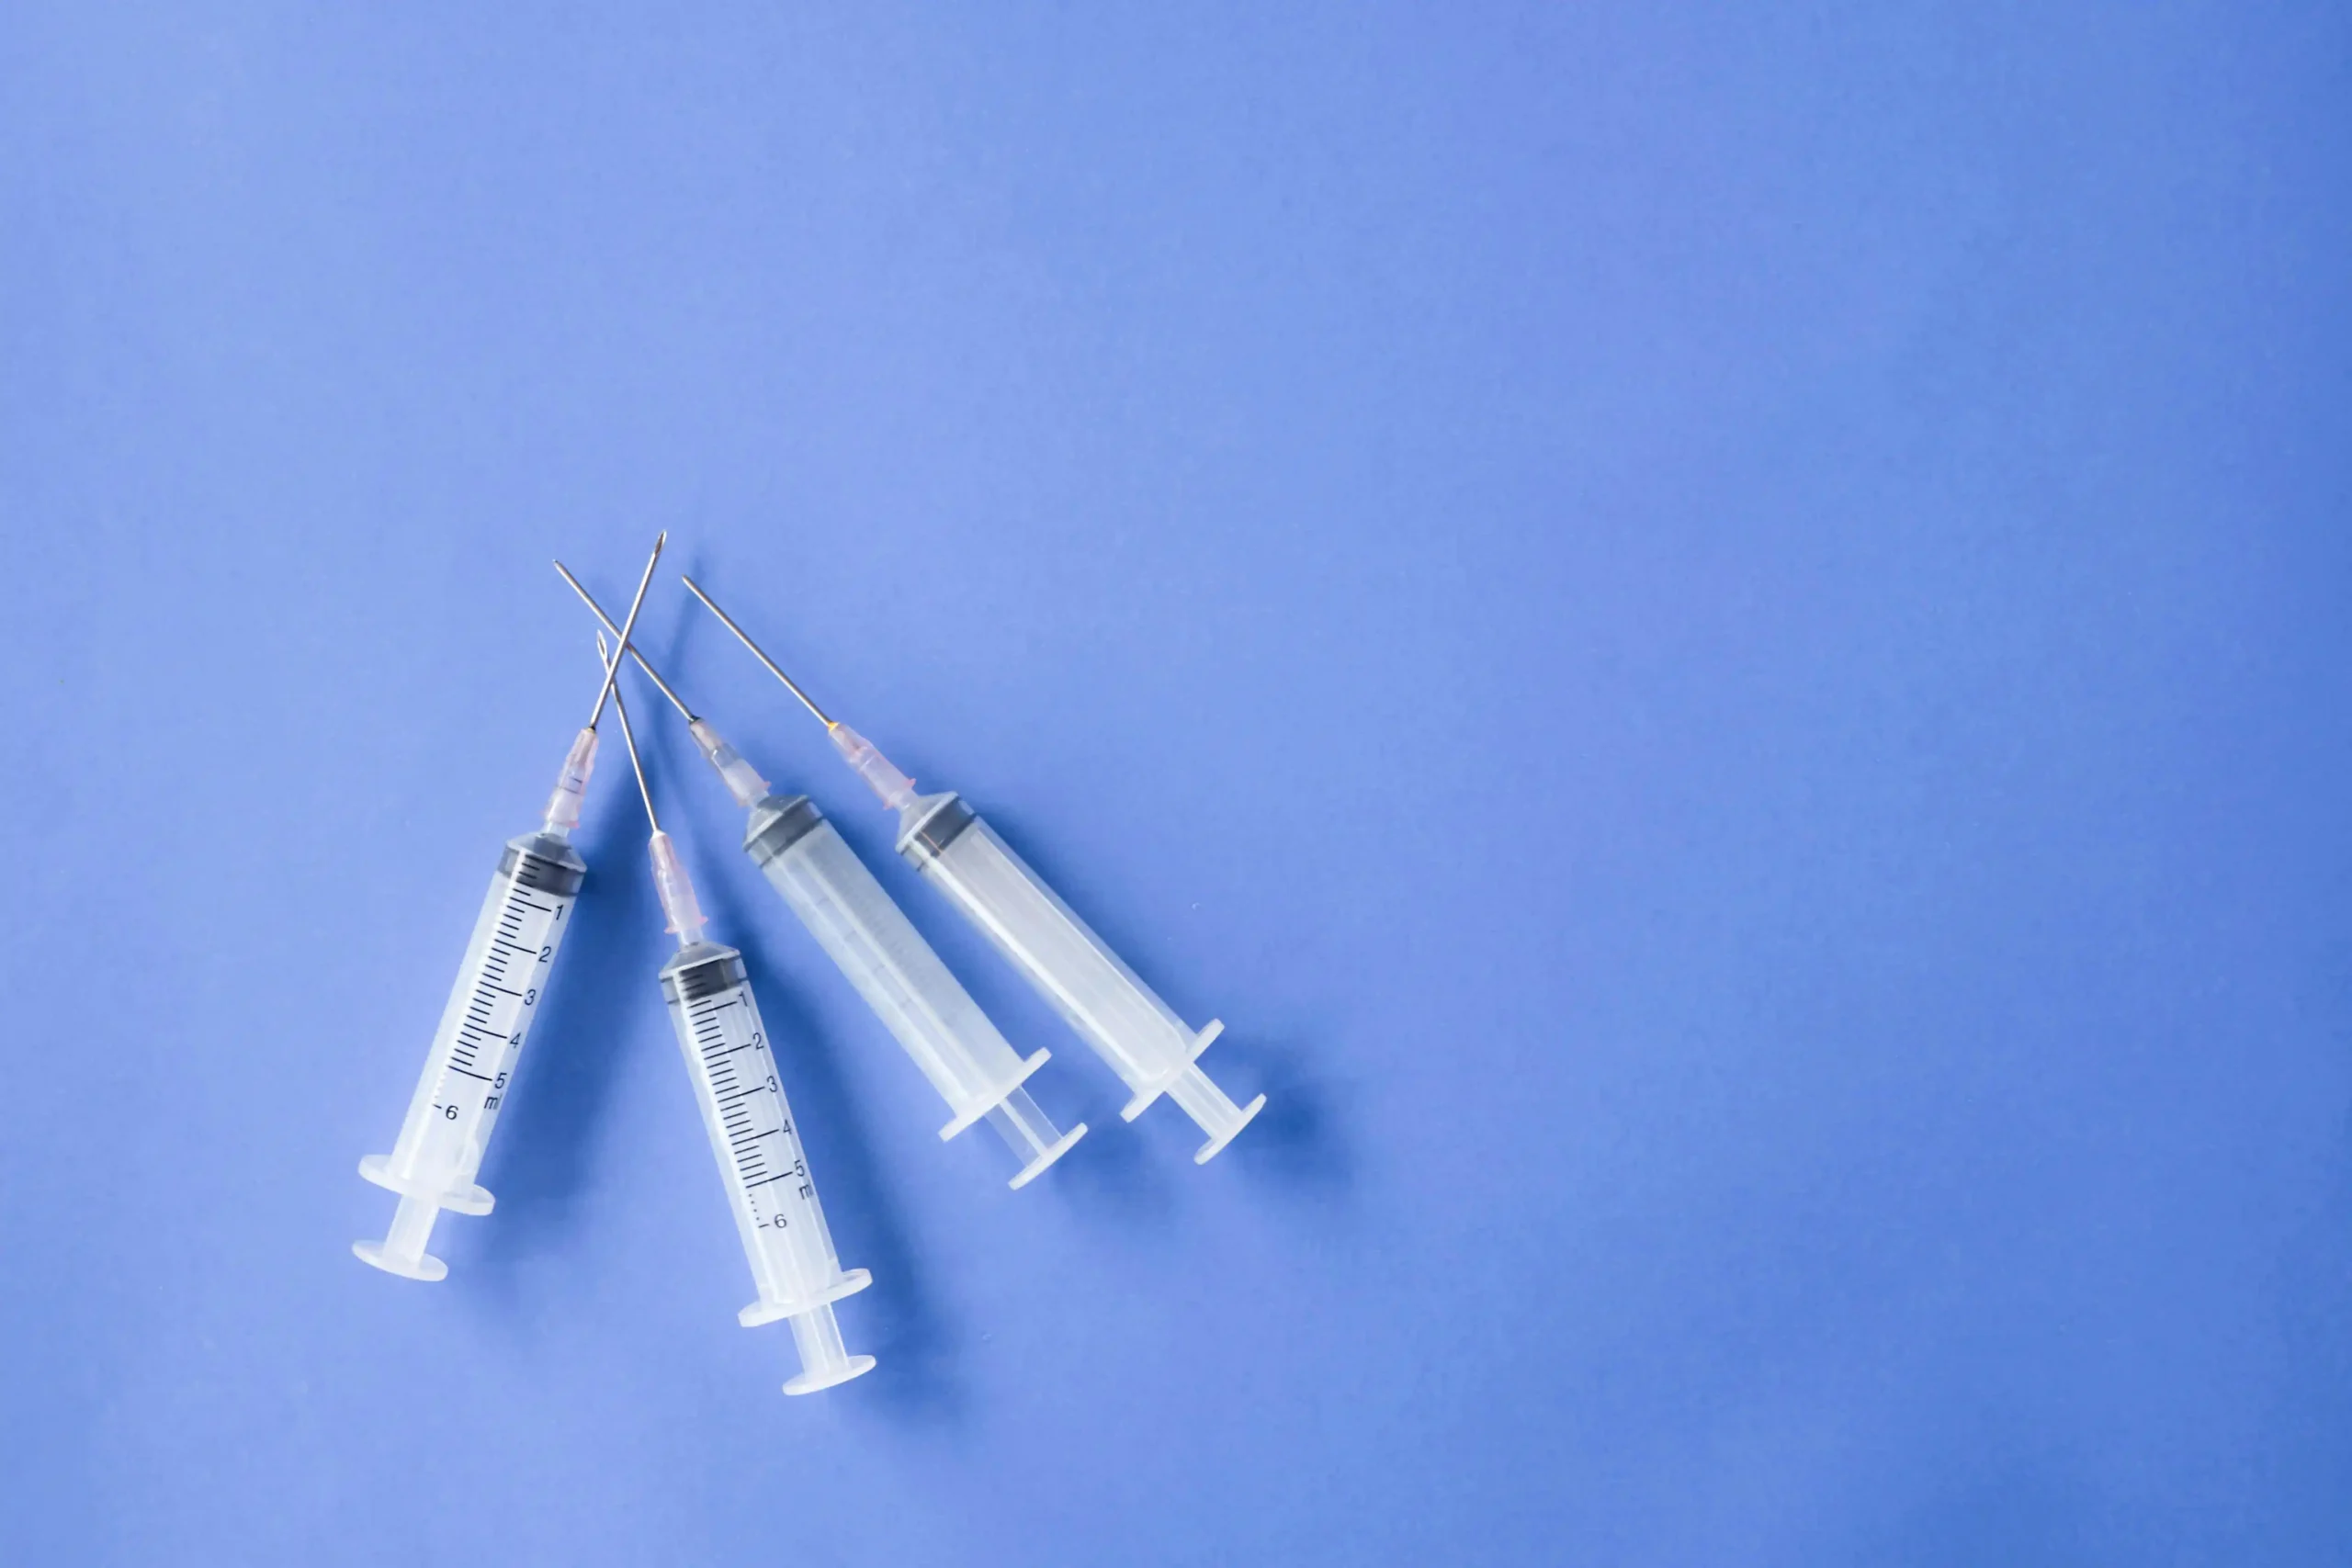
Supplies You Will Need
Before you start, gather everything in one clean space. Stopping mid-injection to find a missing item adds avoidable stress.
Standard supplies for a testosterone injection typically include:
- Your prescribed testosterone vial, stored according to the label (usually room temperature, away from heat and light)
- A new syringe with a drawing needle (often 18 to 22 gauge) for pulling the medication from the vial
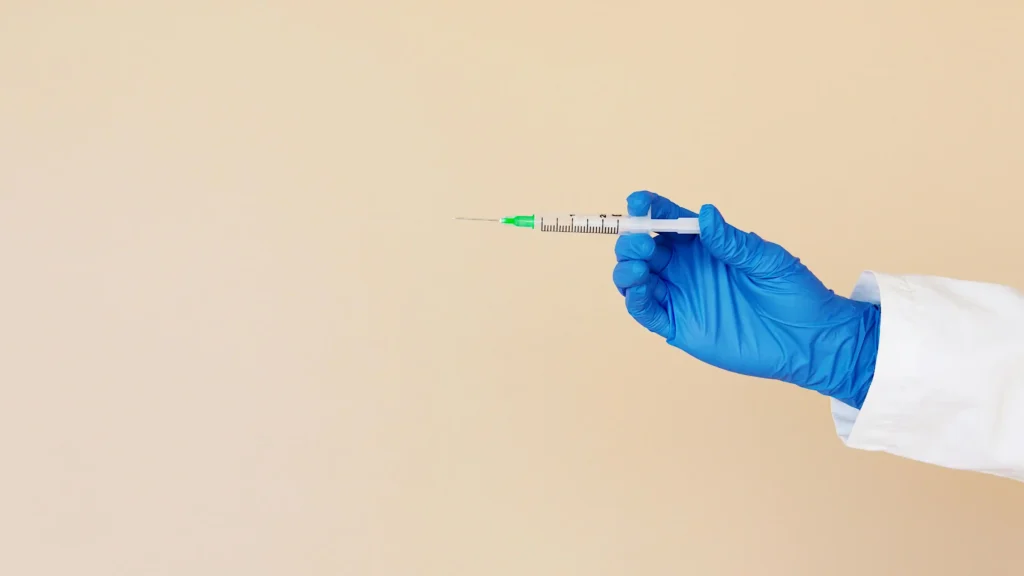
- A new, separate injection needle in the gauge and length your provider recommends
- Alcohol swabs (at least two per injection: one for the vial top, one for your skin)
- A clean, flat surface to lay supplies on
- An FDA-cleared sharps disposal container, or a heavy-duty, puncture-resistant plastic container with a tight-fitting lid if an approved container is not available
- A small bandage if you find you bleed slightly after withdrawal
Wash your hands thoroughly with soap and water for at least 20 seconds before handling any supplies. Never reuse needles or syringes, even on yourself. A fresh, sterile setup every time is one of the simplest ways to protect yourself from infection and injection-site irritation.
How to Inject Testosterone: Step-by-Step for IM and SubQ
The general workflow is similar for both methods. The differences come in needle size, site selection, and the angle of insertion. Follow your provider’s specific protocol; the steps below describe a typical sequence consistent with widely published patient education materials.
Step 1: Prepare Your Workspace and Supplies
Choose a clean, well-lit area. Lay out everything you need within easy reach. Inspect your testosterone vial: the liquid should look clear and free of particles, and the label and expiration date should be intact. If anything looks off, contact your provider or pharmacy before injecting.
Wipe the rubber top of the vial with a fresh alcohol swab and let it air dry for a few seconds. Open your syringe package without touching the needle or the syringe tip.
Step 2: Draw the Medication
Attach the drawing needle to the syringe. Pull the plunger back to draw in an amount of air roughly equal to the dose your provider has prescribed. Insert the drawing needle through the rubber stopper of the vial and push the air in. This equalizes the pressure inside the vial and makes drawing the oil-based medication easier.
Turn the vial upside down with the needle still inserted, and slowly pull back on the plunger to draw your prescribed dose. Tap the syringe gently to move any air bubbles toward the needle, then push them back out into the vial. Once you have your dose with no visible air bubbles, withdraw the needle from the vial.
If your provider’s protocol uses separate drawing and injection needles, carefully remove the drawing needle and replace it with a new injection needle before proceeding. Switching needles reduces dulling and discomfort during the actual injection.
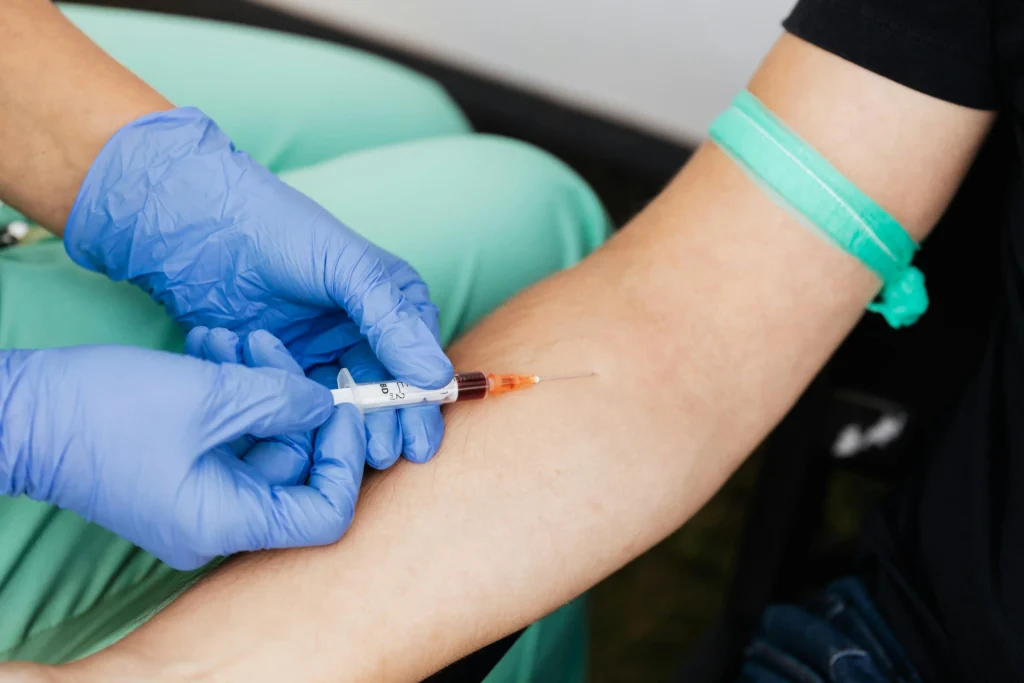
Step 3: Choose and Clean Your Injection Site
This step depends on whether you are doing an IM or SubQ injection. The best place to inject TRT is the site your provider has recommended for your specific protocol, but the most commonly used self-injection sites are covered in the next section.
Once you have selected your site, wipe the skin firmly with a fresh alcohol swab in a circular motion, moving outward. Let the area air dry. Wet alcohol on the skin can sting more during insertion.
Step 4: Insert the Needle
For an IM injection, hold the syringe like a dart and insert the needle at a 90 degree angle in a quick, smooth motion. The full length of the needle should enter the muscle.
For a SubQ injection, gently pinch a fold of fatty tissue between your thumb and forefinger. Insert the needle at a 45 to 90 degree angle, depending on your needle length and the depth of subcutaneous tissue at that site. Shorter needles often go in at 90 degrees; longer needles may go in at 45.
Current public health guidance from organizations such as the World Health Organization and the U.S. Centers for Disease Control and Prevention no longer recommends aspiration (pulling back on the plunger to check for blood) for IM injections at standard sites, since recommended locations are well away from major blood vessels. Follow whatever your provider has specifically instructed.
Step 5: Inject Slowly and Withdraw
Press the plunger down slowly and steadily until the full dose is delivered. Injecting too quickly is one of the most common causes of unnecessary pain and post-injection soreness.
Once the plunger is fully depressed, withdraw the needle smoothly at the same angle it went in. Press a clean alcohol swab or gauze over the injection site for a few seconds. Some minor bleeding is normal and usually resolves quickly. A small bandage is fine if you prefer.
Step 6: Dispose of Sharps Safely
Do not recap the needle. The CDC and FDA recommend placing used needles and syringes directly into an FDA-cleared sharps disposal container. If you do not have one, a heavy-duty plastic household container, such as an empty laundry detergent bottle, may serve as a temporary alternative, as long as it is puncture-resistant, has a tight-fitting lid, is leak-resistant, and is clearly labeled.
When your container is about three-quarters full, seal it and follow your local community guidelines for disposal. Never place loose sharps in regular trash or recycling, and never flush them. Many pharmacies, clinics, and community programs offer drop-off or mail-back options.
Where to Inject: Best Place to Inject TRT
Choosing where to inject TRT comes down to your method, your anatomy, and your provider’s recommendation. Below are the most commonly described self-injection sites in patient education materials.
Intramuscular Sites
The gluteal muscle (upper outer buttock) is a traditional IM site, though it can be difficult to see and reach without a mirror. It offers a large muscle mass that can absorb larger volumes comfortably.
The vastus lateralis on the outer thigh is widely recommended for self-injection because it is easy to see and reach. The safe zone is generally described as the middle third of the outer thigh, roughly halfway between the hip and the knee.
The deltoid (upper arm shoulder muscle) can be used for smaller volumes. Because it is a smaller muscle and sits near nerves, it is usually reserved for doses of around 1 mL or less, and it requires careful placement two finger-widths below the bony point of the shoulder.
Subcutaneous Sites
The lower abdomen is the most commonly described SubQ site for testosterone. Inject into the pinchable fat roughly 3 to 5 centimeters (about 1.5 to 2 inches) away from the navel, alternating sides each time.
The upper outer thigh is another option, useful if you want to alternate away from the abdomen. Choose the fatty area on the front or outer side of the thigh, avoiding any visible blood vessels.
Some clinical sources also describe the fatty area at the back of the upper arm as an option for SubQ injection, though this often requires assistance from another person to reach comfortably.
Why Site Rotation Matters
Whichever method you use, do not inject in the same exact spot every time. Repeated trauma to the same area can cause scar tissue in muscle or hardened fat (sometimes called lipohypertrophy) under the skin, which may interfere with absorption and comfort over time. Rotating between sides and shifting your placement by at least an inch within each general area helps keep tissues healthy.
A simple rotation log on your phone or a notebook can make this easier, especially in the first few months when the routine is still new.
Wondering if TRT is right for you?
Start Your TRT AssessmentCommon Mistakes and How to Avoid Them
Most injection difficulties trace back to a handful of habits that are easy to correct once you notice them.
Injecting too fast is one of the most common sources of pain and post-injection soreness. The oil-based suspensions used in TRT take more time to disperse than aqueous medications. Slow, steady pressure on the plunger is much more comfortable than a fast push.
Not letting the alcohol dry before insertion causes a sharper sting at the moment the needle enters. A few seconds of air drying makes a noticeable difference.
Tensing the muscle right before an IM injection can cause more discomfort and bruising. Try to relax the target muscle by shifting your weight off that leg or arm before inserting the needle.
Forgetting to rotate sites is easy to do, especially once the routine becomes automatic. Choosing a different site at each injection (or alternating sides on a fixed schedule) is one of the simplest ways to keep your tissues healthy long term.
Skipping the sharps container is a safety mistake that affects more than just you. Loose needles in household trash put sanitation workers, family members, and pets at risk. Always have a designated sharps container ready before you draw your first dose.
What to Watch For After Each Injection
Some mild redness, slight swelling, or a small bruise at the injection site is common and usually resolves within a day or two. Itching at the site can also occur and typically clears on its own.
Contact your provider if you notice any of the following: warmth or expanding redness around the site, pus or unusual drainage, fever, or pain that worsens rather than improves over 24 to 48 hours. These can be signs of infection that need prompt evaluation.
Other reactions to discuss with your provider include unusual mood changes, significant swelling in the legs or ankles, shortness of breath, chest discomfort, or any symptom that feels out of the ordinary for you. Hormone therapy affects multiple body systems, and your provider needs the full picture to adjust your plan if needed.
Routine monitoring is part of safe testosterone replacement therapy. Most providers schedule follow-up labs (which may include total testosterone, hematocrit, PSA, and other markers) at regular intervals so they can adjust your treatment based on your response.
Questions to Ask Your TRT Provider
A short, focused conversation at the start of treatment (or at your first follow-up) can save a lot of guesswork later. Some questions worth raising include:
- Should I be doing IM, SubQ, or either, and why is that the right method for me?
- What needle size and gauge do you recommend for my injection site and dose volume?
- How should I rotate sites week to week?
- What does a normal injection-site reaction look like, and when should I call you?
- What follow-up labs will I need, and on what schedule?
- Are there any over-the-counter medications or supplements I should avoid while on therapy?
- How will we know whether my current method is working well for me?
If your current provider does not specialize in hormone health and seems uncomfortable answering practical questions about technique, it is reasonable to seek a second opinion from a clinician who treats TRT regularly. Telehealth options have made this easier than it used to be, and ongoing access to a knowledgeable provider matters more for long-term TRT than almost any other factor.
If cost is a factor in your decision, our TRT cost guide breaks down what to expect across different formats and provider types. If you are still comparing services, our best TRT roundup compares the most common telehealth options side by side.
Practical Next Steps
If you have already started TRT, the most important next steps are consistency and observation. Stick to your provider’s prescribed schedule, log your injections (site, date, any reactions), and bring that record to your follow-up appointments. Patterns over weeks and months will tell you and your provider far more than any single injection.
If you are still in the decision phase and trying to determine whether injectable TRT is right for you, the path forward usually starts with a lab evaluation by a qualified provider. A morning blood draw, repeated for confirmation, gives a provider the data they need to recommend an appropriate treatment, if treatment is warranted at all.
Either way, knowing how to inject testosterone safely is a skill you can build. The first few injections almost always feel harder than the tenth, and the tenth feels far easier than the first. Give yourself room to learn the routine without judgment.
For men looking for a guided path that includes labs, a licensed-provider evaluation, and ongoing follow-up, PrescribedRX injectable TRT offers a structured telehealth option worth considering. It is one practical way to move from research to a clear plan with professional oversight at each step.
Taking the Next Step with Confidence
Learning how to inject testosterone is mostly a matter of preparation, patience, and following a process you trust. Whether you use IM or SubQ, the same fundamentals apply: clean supplies, careful site selection, slow injection, and safe sharps disposal. Add good site rotation and consistent follow-up labs, and you have the building blocks of a sustainable routine.
If you would like a structured starting point with licensed provider oversight, lab testing, and ongoing support, you can book a TRT consultation with PrescribedRX to discuss whether injectable TRT is appropriate for you and what your personalized plan might look like.
| Ready to Talk to a Provider?Book a TRT consultation with a licensed PrescribedRX provider. Review your labs, understand your options, and build a plan that fits your goals and schedule.Book a TRT Consultation with PrescribedRX |
Considering TRT? Get a plan built around your labs.
Take the 2-minute assessment with a licensed PrescribedRX provider. No pressure, no obligation.
Start Your TRT AssessmentExplore plans: Injectable Testosterone · Testosterone Cream · Enclomiphene
About This Guide
This article was written and reviewed in accordance with our editorial standards. Clinical information is based on publicly available medical sources and patient education materials current as of May 2026. Content is reviewed by a licensed healthcare professional for clinical accuracy.
Last Updated: May 2026